Today I am linking up with Andrea for her Show + Tell Tuesdays.
The topic today is about Pinterest Wins (or Fails!)
I have 5 to share with you.
{ONE}
Quick & Easy Shredded Chicken
First up, is my #1 Pinterest Win.
I was scrolling Pinterest a year or 2 ago when I saw an image for shredding chicken using your kitchen aid. I didn't pin it..it was just an image of cooked chicken shredded saying "Use your kitchen aid to shred" I wish I had the pin to link to, but I don't.
One day I tried this method and I couldn't believe how EASY it was!!!
It is seriously a life changing method.
I don't know about you, but cooking & touching chicken totally grosses me out.
Using this method is the best!
Here is what you do:

I get a bag of frozen chicken breasts & I boil the frozen chicken breasts for about 15-20 minutes (until they are cooked!)
After 15 minutes I take out one of the chicken breasts & cut it in
half to make sure it is cooked all the way through. No one wants under
cooked chicken! YUCK!
I put them in my kitchen aid while they are still warm & using the
paddle attachment, I turn it on and it SHREDS the chicken in less than a
minute!!!!!


Check it out!!!!!

I don't know about you, but cutting up chicken grosses me out, so using this method is LIFE CHANGING.

 Yes, LIFE CHANGING. Shredding chicken without touching it is Life Changing in my opinion ;)
What I usually do is boil an entire frozen bag at a time.
I use what I need for that night's recipe & then I FREEZE the rest of the shredded chicken to use at a later time for other recipes.
(I don't add any seasonings for this...it's just the plain frozen chicken, but you could add salt/pepper or other seasonings if you want)
I use what I need for that night's recipe & then I FREEZE the rest of the shredded chicken to use at a later time for other recipes.
(I don't add any seasonings for this...it's just the plain frozen chicken, but you could add salt/pepper or other seasonings if you want)

I date & label the ziplock bag & then freeze it!

Here are some of my favorite recipes that you can use shredded chicken for:
Chicken Enchiladas Verde {Recipe HERE} 
Chicken Tortilla Casserole {HERE}

BBQ Chicken Pizza {Recipe HERE}

Slow Cooker Chicken Tortilla Soup {Recipe HERE}

Slow Cooker White Chicken Chili {Recipe HERE}

Here are some other pins from Pinterest that were successes:
{TWO}
Rain Gutter Bookshelves
We made these for Luke's Room:

They were so easy to make and so cheap!
I bought one 10 foot piece of Rain Gutter for $5.47
Kevin sawed it in half with a hack saw to make two 5 foot shelves.
I bought rain gutter end caps that were $3.19 for a 2 pack.
I bought a huge box of 1 5/8 inch dry wall screws for $3.49.
That's it. So cheap!
It took Kevin and I about 35 minutes from start to finish to saw them & put them up.
Here is the link to the step by step directions that we used.

{THREE}
Tooth Fairy Receipt & Pillow:
I found THIS tutorial when Kate lost her first tooth.
Look what my mother in law whipped up one afternoon:


Pin for the Win!
Is that not the cutest tooth fairy pillow EVER? And, I love that you
can hang it, you don't have to put it under the pillow. If you don't
have bed posts, just hang it on their bedroom door.
It makes it easier to leave money & not wake up your child!
My mother in law made a pink version for Claire :)
My mother in law made a pink version for Claire :)
For the first tooth, they will get a Silver Dollar (or Gold Coin) and $1 bill.
Every tooth after that, they will just get $1 (a glittery dollar bill)


You may notice that my dollar bill is sparkly! While searching on
Pinterest, I saw the idea to put glitter on the dollars that the Tooth
Fairy leaves. SO EASY!
There are a few ways you can do this.
You can use glitter hair spray OR you can hair spray the dollar and then sprinkle glitter on it,
You can use glitter glue OR you can spray the dollar with glitter spray paint.
The next idea I saw on Pinterest was THIS idea.
Making a receipt from the Tooth Fairy!!!!
The link didn't have instructions, but here is what I did to make the receipts:


(I like the receipt idea because I am afraid my kids would recognize my handwriting)
First, I downloaded THIS font (It's free)
Then, I just typed up my receipt in a Word Document.
To add a bar code, I went to THIS website which is a bar code generator.
For the bar code, I put Kate's initials, then a 1 (first tooth) and then the date.
After it generated my bar code, I did a screen shot of just the bar code and saved it as a .jpeg
On my Word document, I inserted it as an image to the bottom of my receipt.
I printed it out & then cut the paper to make it smaller.
SO EASY! It took less than 10 minutes to make.

{FOUR}
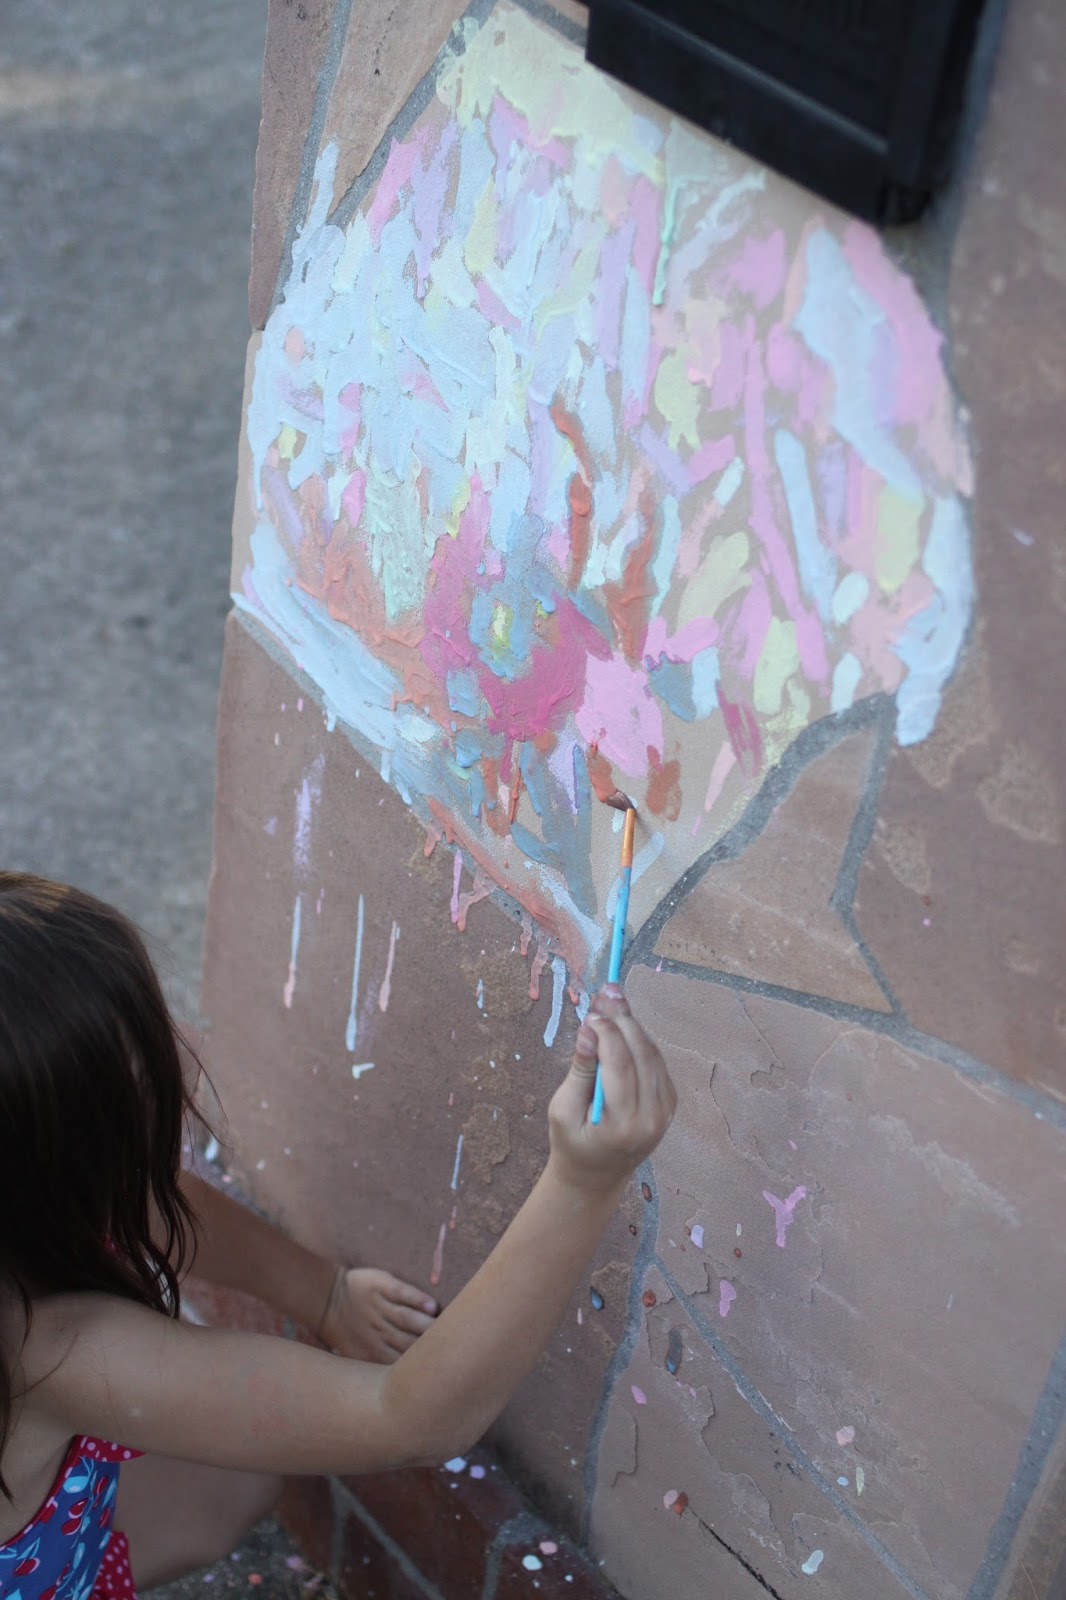
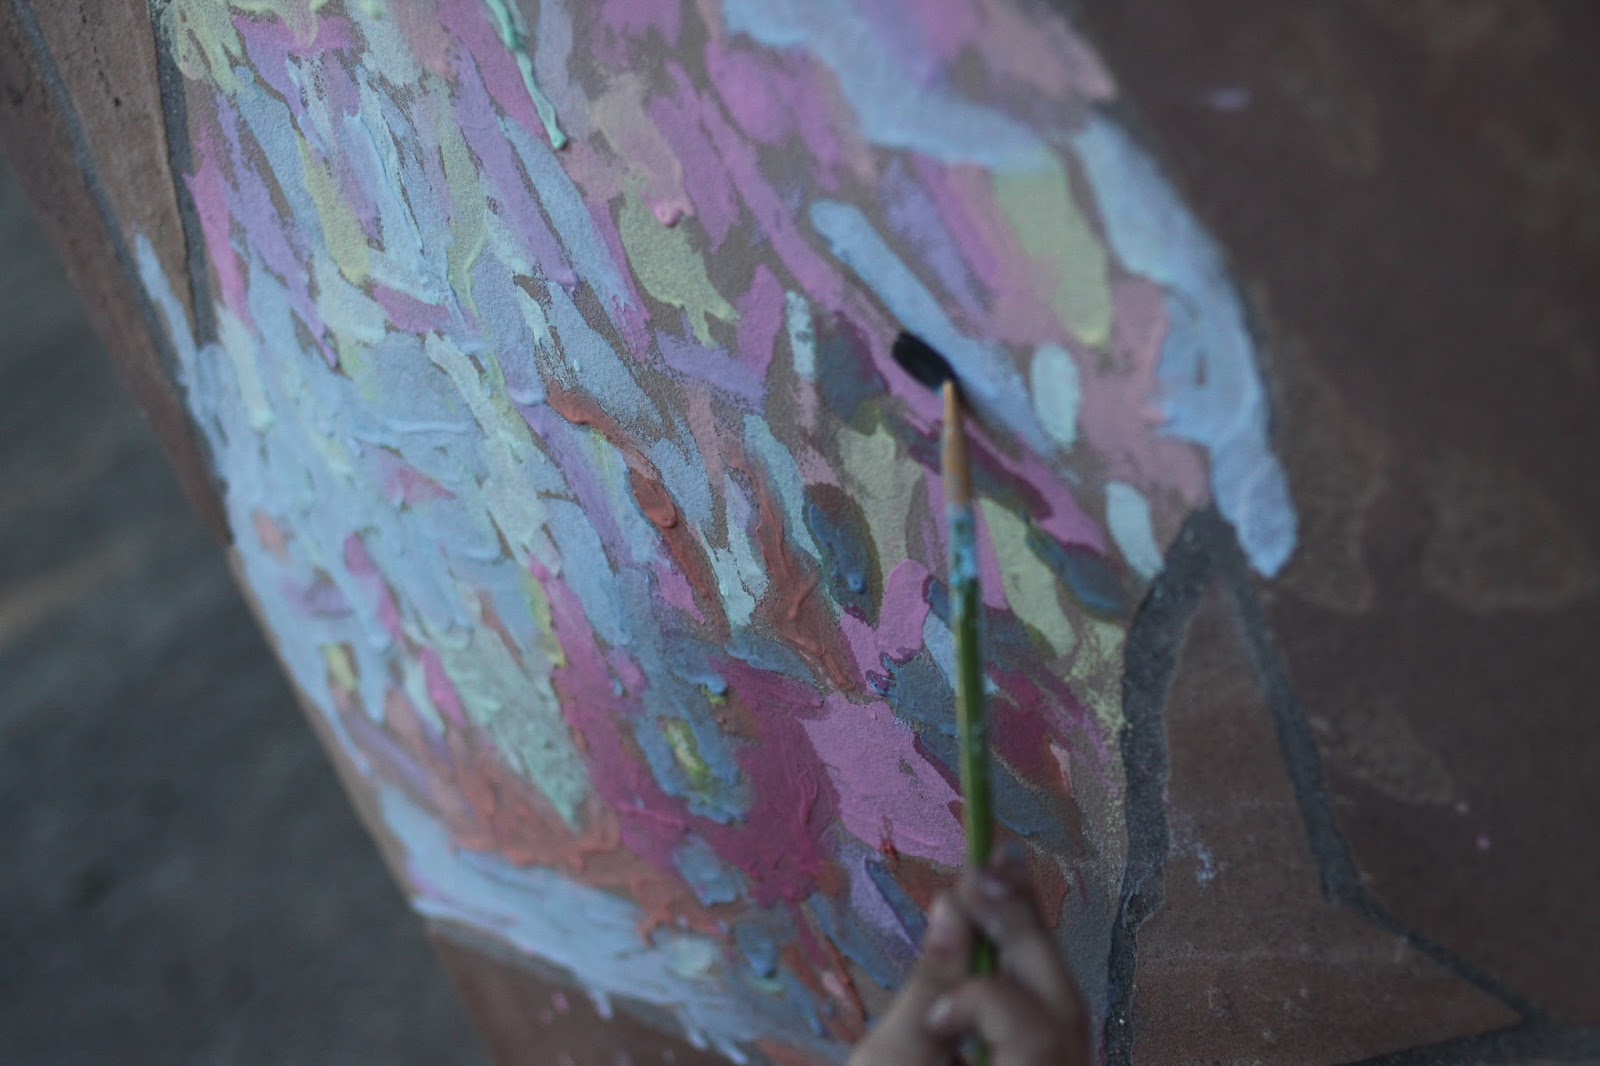
Sidewalk Chalk Paint!

Tutorial {HERE}
My kids love to paint & watercolor, but cleaning up after regular painting & water coloring is SUCH A PAIN.
Can I get an Amen?
Enter Sidewalk Chalk Paint.
Easy to make & even easier to clean up.
I found out about Sidewalk Chalk Paint on Pinterest one summer.
Making Sidewalk Chalk Paint has been on our Summer List the past 4 years.

My favorite memory with Sidewalk Chalk paint is when I made it for Claire's Tangled Birthday Party 2 years ago and let the girls paint our house with the Sidewalk Chalk Paint! (It washes right off) 

{FIVE}
Creamy Cajun Chicken Pasta:
In August 2012, I was 9 months pregnant with Luke and my doctor was heading
out of town the weekend I was due. The hospital was booked for
inductions, so I was trying *almost* everything to go into labor on my
own before my Doctor left town.
He stripped my membranes a couple times, I walked over 4 miles in 100 degree heat.
Nothing worked.
As a last ditch effort, I decided to make a spicy meal in hopes that
the wives tale that "spicy food" would help you go into labor.
I scoured Pinterest and this recipe caught my eye.
It looked spicy & yummy, so I made it!
We had it for dinner 3 times that week.
It never put me into labor, but the recipe was a keeper!
(My doctor was able to induce me the day before he left, you can read Luke's birth story here)
Here is my version that I feel is tweaked/modified to perfection:

{Recipe HERE}
Whenever I make this meal it brings back memories of my final week of pregnancy with Luke.
You know that scent and taste trigger memories, right?
This recipe has become one of our favorites. In fact, I think I am going to add it to next week's meal plan!
++++++++++
So, there you have it....5 of my favorite Ideas from Pinterest!
What did we ever do before Pinterest?!?
Linking up with Andrea for Show & Tell Tuesday!

Can't wait to read your favorite Pinterest ideas!