Showing posts with label decorating. Show all posts

3.02.2016

Luke's New Room + A Winner

At the end of last year we finally got rid of Luke's crib and put him in a big boy bed.
If you remember, a year ago he had already been crawling in and out of his crib, trying to climb his furniture and destroying his room.
(Read about it HERE
I got a crib tent for him and that worked great for months...until it broke and zipper no longer worked, so it was time to get rid of the crib and get Luke a big boy bed.

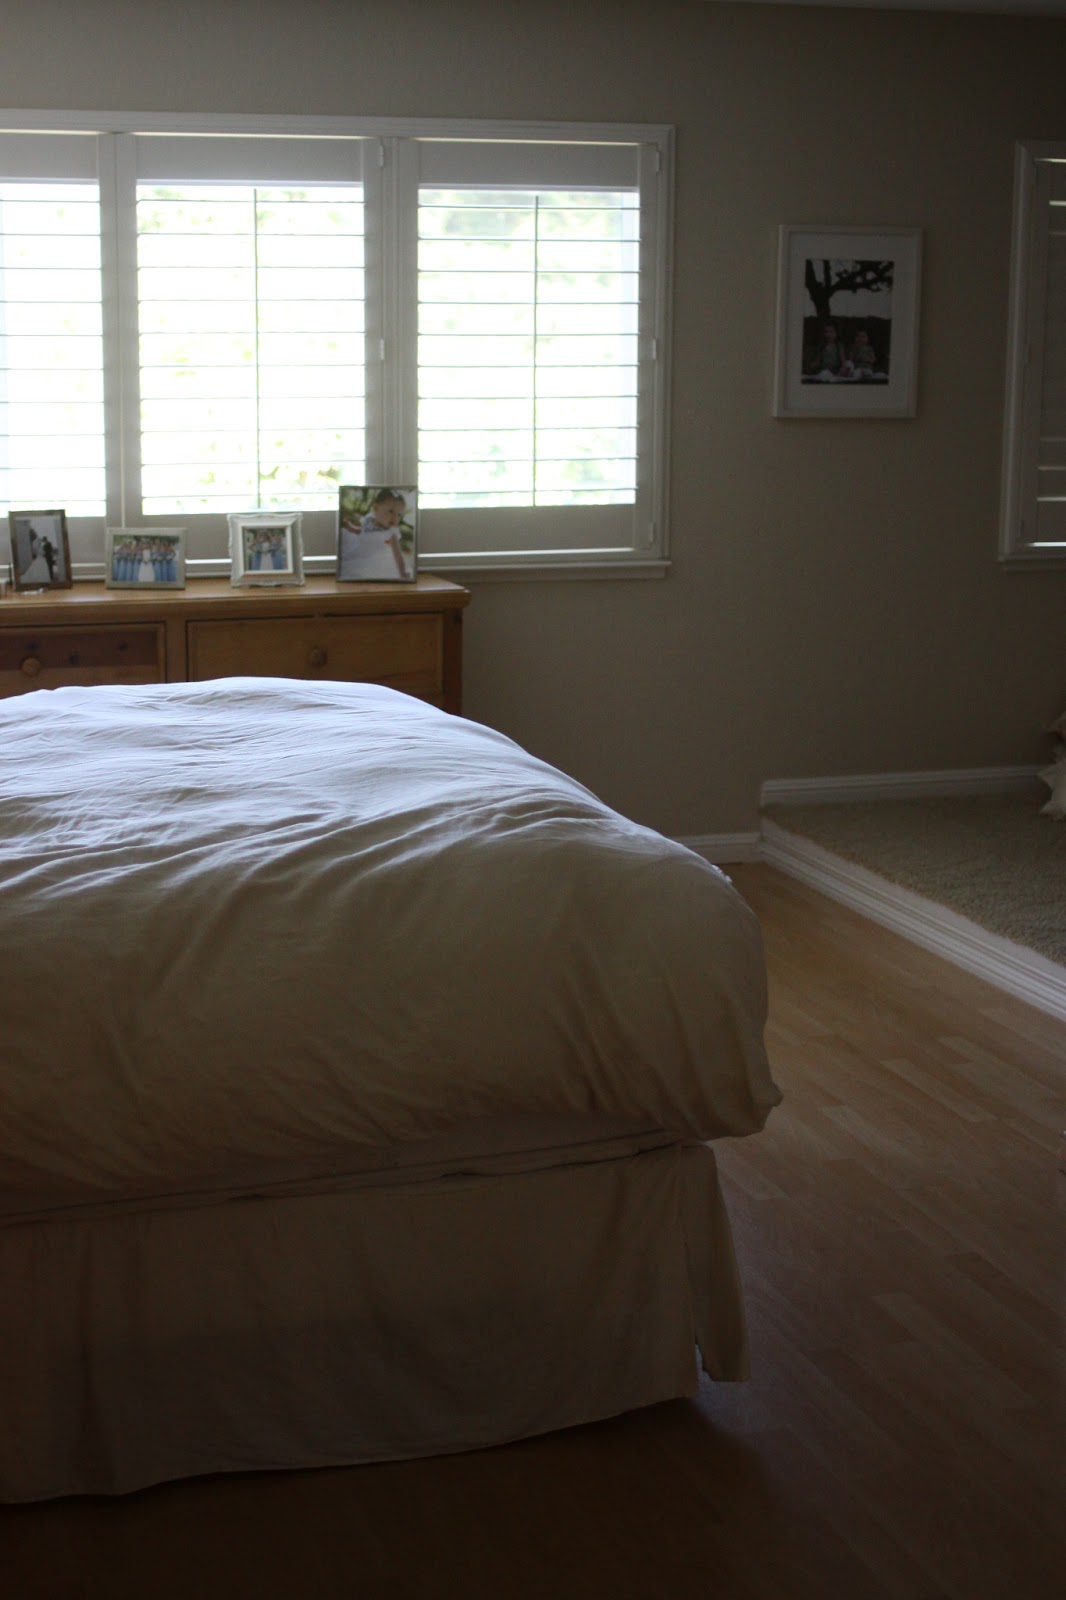
 Here is what Luke's room looked like when it was nursery:
  He was 3 years, 3 months when we finally got rid of his crib, which is way older than the girls were when I put them in big girl beds.
I guess I was dreading it with Luke because he is our last...after he was in the big boy bed it meant no more crib in our house. It meant no more rocking chair in a nursery.
It was the end of an era.

We had that rocking chair in all 3 kids nursery's....9 years we had this rocker.
I spend countless hours nursing my babies in that chair.
Kevin has read our kids thousands of bedtime stories in that chair.
I am not going to lie...getting rid of that chair was harder than taking down the crib.
I totally cried.
So many memories with that chair.
But it was time.
Time to move on from having a nursery and time to give Luke a big boy room.
You can see the rest of his nursery HERE

The crib was used for all 3 of our kids & my mom bought it for us when I was pregnant with Kate & it's still in good shape, so it's set up in her house for her grandkids to sleep in.

Here is what his room looks like now:
We kept the same "theme" which is basically navy/red with a sports emphasis.
Those are Luke's favorite colors & he loves sports, so it worked perfectly to keep his room with the same theme. 
Bed {HERE} // Dresser {HERE} // Bedding {HERE} // Lamp {HERE} // Toy Bin {HERE}
 His crib & dresser where white, but I for his big boy bed, I wanted to switch to dark wood.
 We took down the rain gutter bookshelves because we needed more storage & we were putting his bed along that wall. I got THIS bookshelf {HERE} and  bins {HERE} to store trains & cars.
The "L", baseball piggy bank & lamp {HERE} were from his nursery.

I kept the same canvas prints up (HERE) but updated the one in the corner (Homegoods!)
He got THIS chair for Christmas last year. His nightlight is also from HERE.

 I also kept up his name canvas from his nursery.
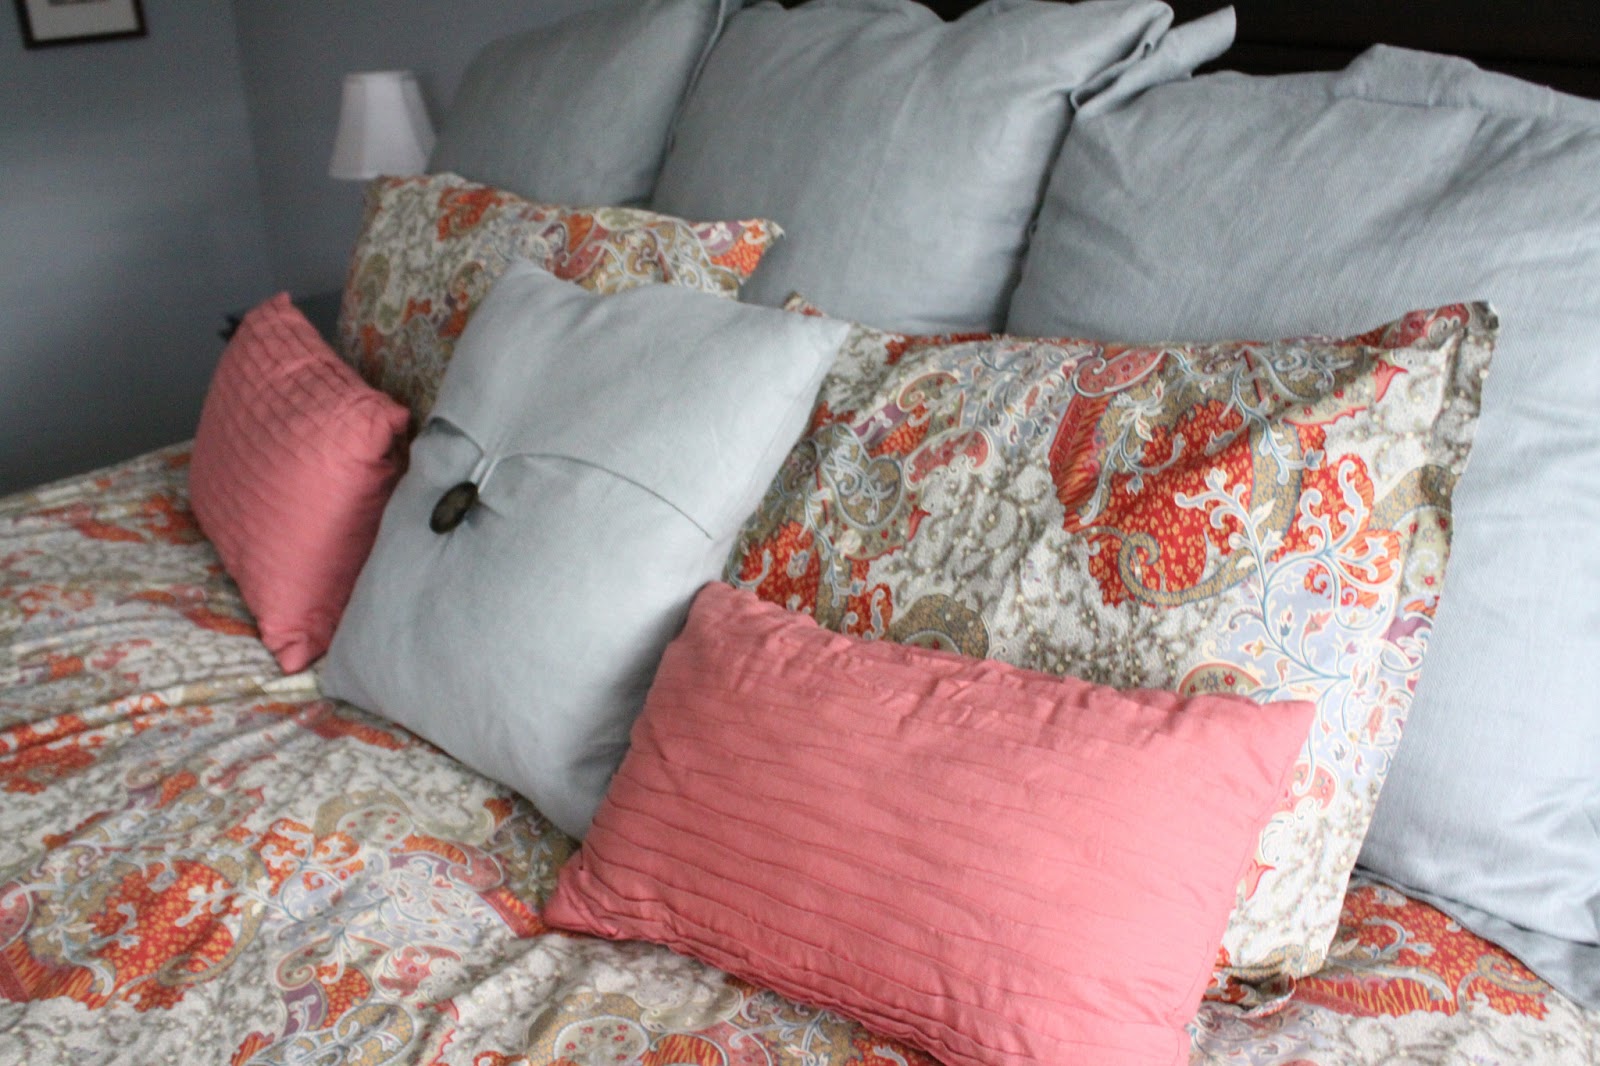
 I got his sheets HERE. They are SO soft!
So, there you have it! Luke's new room.
He loves his big boy bed & the transition went really well.
Although, now that he is in a bed, he likes to sleep with one of his lights on, which is fine by us.

As you can tell from his room (and the rest of my house) my decor is very simple. 
Some might think it is boring, but I can't handle clutter....can I get an Amen?


I love Luke's room & bedding because it is classic & simple...I think it will work until he is in middle school/high school...if it holds up that long!

Now that Luke's room is updated to a big boy room, our next room project is re-painting Claire's room. She got new bedding for her birthday in September, but it doesn't match her wall paint.
Her wall paint is a pastel pink. We painted it 6 years ago when we moved in & it was her nursery.
When she went into a big girl bed, we gave her Kate's old quilt & got Kate a new one.
The paint is very light and over 6 years has a dirt & smudge marks on it!
We are in the process of picking out a new color.

Claire wants pink again, but a brighter pink.
We are deciding between bubble gum pink or pepto bismal pink ;)


If you are nosy like me & like to check out what other people's homes look like, you can click HERE  for the rest of our home tour!

++++++++++++++
The winner of the $100 Visa Gift Card is:
Janet Holt
Congrats! Send me an email or leave me a comment and I will get that sent off to you!
+++++++++++++++

1.30.2013

Office/Guest Room Remodel: Before, During & After

As promised, here are photos of the Office/Guest Room Remodel.
Last week I showed you pics of our Master Bedroom/Bathroom Remodel.
As a refresher, here is a picture of what our master bedroom looked like when we first moved in, our master had a extra 11x11 room attatched to it that the realtor called a "sitting room"

I used it as a "junk area"

When we found out we were pregnant with Luke, we decided to wall it up & make that room a Guest Room/Office and make the old Guest Room into a nursery.

Framing out the new wall & adding a door way to the hall:

Adding the sheet rock to the framing:

Other side of the room:

 View from the new doorway:

 And, after we painted, added the carpet, new baseboard, crown moulding & new door:

{I used the same bedding & side tables that we had in the previous Guest Room}

View of the "Office" part of the room, which is just a desk.
This is where we could have added a closet, but we wanted to have have an office/desk area instead.

We were originally going to make this room an Office with a big L shaped Desk, but Luke was on his way, we need to make the Guest Room his room and combine the new Guest Room with the office. We like having a Guest Room for ALL those visitors that we get, you know once or twice a year ;)

Above the desk is my framed jersey from when I played college soccer at Unversity of Colorado.
Each senior got one when they graduated. 
It's been stored in a closet for the past 7 years, but Kevin said we should finally hang it up. The girls think it's cool :)
 So, there you have it. Our completed Office/Guest Room/Master Bedroom Remodel!
Along with this remodel, we also put in new baseboards, crown molding & doors in all our other bedrooms. Here are updated pics of those rooms!
Kate's Room:


Claire's Room:

Luke's Room (which used to be the Guest Room)
{More pics & details of Luke's Nursery can be found on THIS post}
Now, to figure out (& budget) for the next thing we want to remodel in our house!
Thanks for looking!

1.24.2013

Master Bedroom Remodel: Before, During & After

I realized I have never posted the pictures of our Master Bedroom Remodel that we did last Spring/Summer!
When we bought our house almost 3 years ago one of the things we wanted to re-do was the Master Bedroom. When our house was built over 30 years ago, you had the option of having an extended Master Bedroom with a sitting area OR you could make the sitting area a 5th bedroom.
The original owners of our house chose to have an extended Master Bedroom. 
Here is what it looked like when we moved in: 
  The "sitting" area is the size of the girls bedrooms, 11 feet x 11 feet.
We knew that we wanted to eventually convert the "sitting" area to a 5th bedroom and make it an office.
This is what the "sitting" area looked like for the first 2 years we lived there:
It was my junk area. It is where I kept the nursery glider, the decorative pillows from our bed (that we only put on when we have people over), where the dog bed was kept, where I would pile laundry & store other crap like suitcases, an old mirror, etc. 
It was a TOTAL waste of space! We knew we wanted to convert it to an office one day.
It was a storage area for stuff that had no where to go. Not a "sitting" area like the realtor advertised. We have young kids. Like we have time to "sit" at night.  HA!
Our bedroom wasn't relaxing because every night when we went to bed, we would stare at the crap in the "sitting" area. 
Here is what the rest of our master looked like:
Our furniture was our 10 year old bedroom furniture from when we were first married. It was cheap & falling apart. We never really decorated our room because we knew we would eventually re-do it. 

When I found out I was pregnant with Luke in December 2011, we decided that it was time to convert our sitting area to the 5th bedroom and  make it into a Guest Room/Office and make our old Guest Room the nursery for Baby #3.

We started this project in Spring of 2012.
The first thing we did is that Kevin ripped out the floor of the "sitting" area.
If you noticed from the pictures, it was a step up from the rest of the room. 
One of neighbors who has the same floor plan as us told us there was a sub floor beneath, so it would be easy to make the floor the same height.
I am very thankful that Kevin is so handy & that we didn't have to hire anyone to do this step!
Once that step was taken care of, it was time to put up a new wall to separate the rooms & to cut a door opening to the new room.  
We hired our neighbor's son who is a contractor to do this for us.
See how nice the sub floor is now that it is even? That was all Kevin!
Here is a view of the new doorway to the hallway:
We also decided to change the master bedroom door. Before we had double doors (that were broken & from the 70's) We decided to get rid of the double door and put a larger single door:
 
(Framing up the door)

After all the framing was done, it was time for electrical & dry wall. 
We decided to put in ceiling fans in our master & the new bedroom because in the summer, the upstairs gets SO hot. The way our house faces is brutal in the summer and all the bedrooms get so much late afternoon sun, so ceiling fans were a necessity (even though some people think they are a designer no-no, they are necessary for our house)
Here is our room with the dry wall up:
 The door framing:
 And, a view from the Guest Room/Office with the dry wall up:
Because we were adding a new door to the new Office/Guest Room and changing our bedroom door, we had to order 2 new doors. Our old doors were the original doors with the original hardware from over 30 years ago, so we decided that if we were getting 2 new doors, we might as well update ALL the doors in our house....

Our contractor tells us that he has some extra crown molding from another job & that we can have it if we want it.  Free crown molding? We just need to pay for labor? Sure!
There was just enough for our master bedroom. But then we loved it so much we thought we would also have him put it in the new Office/Guest Room. And, while he's at it....go ahead and put it in the other 3 bedrooms and bathrooms. Oh, and we might as well get new baseboards to match. 
Isn't that how all household projects work? :)

 Our 10 year anniversary was in August & we had always planned on going back to Hawaii for our 10 year.  But, since I was due 10 days before our Anniversary, we decided to use that money on the remodel & new bedroom furniture for our room.

Before I show you the After pictures, here are the before pictures of our master bathroom:
 Shower/Toilet Area Before:

One of my biggest dilemmas with our bedroom was deciding on what color to paint our room.
I knew I wanted a greyish blue. Look at all the samples I bought:
 
 After a few weeks of stressing about it, I decided on a color. Kevin painted the entire room.
It was NOT what I had envisioned.  It didn't match the bedding I picked out.
But, I didn't want to have him re-paint, so I returned the bedding I bought and bought new bedding (which I ended up liking better!) 
So, here is the AFTER of our Master Bedroom...it was completed a few weeks before Luke was born!
 
 I love how it turned out.
 Our room still has plenty of room, no need for a sitting area!
 I got our bedding at Pottery Barn.
 The coral pillows are from Target
 As you can tell, my style is pretty simple. I don't like a lot of clutter....I like a clean, fresh feel.
*Please note...our room is rarely this clean. I took these pics after our cleaning lady came. Just keeping it real. Usually the pillows are on the floor & I have a pile of laundry/clothes in our room.*

Here are the AFTER pics of the Bathroom:
The changes to the bathroom were: Paint, crown molding, a new shower curtain, new art work & a new bathroom door.
We eventually want to re-do the shower/floor/vanity, but that will wait for another time.
Hope you enjoyed the tour!
Stay tuned for AFTER pics of the Office/Guest Room!

LinkWithin

Blog Widget by LinkWithin